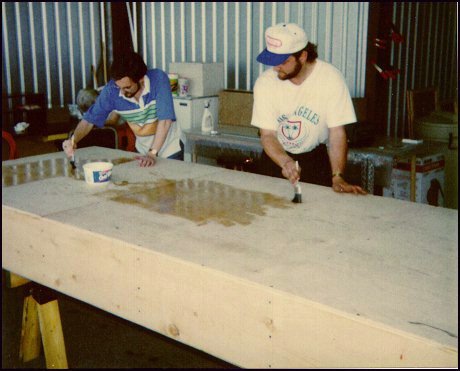
The jig table can be considered the most important accessory to the project. It is the first item on the list to build. The winglets, wings, canard and elevators are all built using this work table as a reference. If you have a straight table, you will have straight wings, canard and winglets. There are very few jigs to build and as you will see in coming pictures, their purpose is to hold and support the foam cores for bonding as you will see in later pictures. In this picture, Tim and I are sealing the top surface of the completed jig table with water seal. This will help protect the surface from excess epoxy and ease cleanup.
Construction of my Berkut started in May '93...this shot was taken in April '93 as I prepared the hanger and converted it into a workshop. I was living in an apartment (of sorts) so building off-site was a must. I put my name of the waiting list for a 'T' hanger at the local airport and was lucky to get it just in time. It came with a lightbulb and a 2-plug electrical outlet...so it gets rather interesting when the power tools are running. Space is also important, however I have seen other builders start in a two car garage. (The bigger - the better...it is still the rule) The Berkut Kit is broken down into sub-kits (Kit 'A', 'B', and 'C') The first kit contains the materials necessary to complete the winglets, wings and canard.
So, without further ado....on to the winglets.
 Back to the Proto-page