The use of NACA air scoops have really started to appear in the mainstream in all kind of applications - cars, planes, boats, etc. Basically a NACA scoop is a recessed vent that aerodynamically draws air into it from the surface boundary layer air stream with very little penalty of drag. Because it is low-drag, it is particularly popular with high-performance homebuilt aircraft - surprise, huh. And…of course...I'll have a couple on my Berkut.
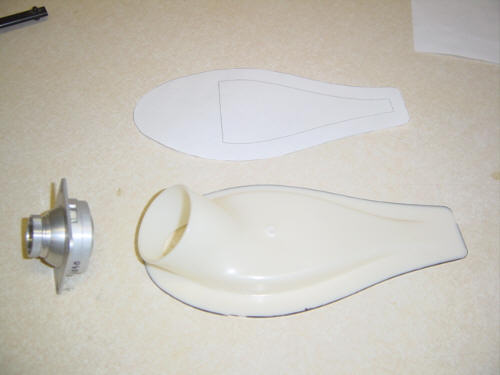
The first one will be installed in the rear compartment to provide outside vent air for the passenger in these sizzling Texas summers. Here you can see the three pieces of the scoop - vent nozzle, paper template, and the interior scoop depression. All that is missing is the hole in the fuselage wall...so, lets put one in. I used the plastic scoop to trace the interior skin cutout and then used the paper template to drill some small holes through to the outside. This effectively provided trace lines for the exterior skin cut-outs. Using a cut-out from the paper template, I traced the exterior cut-out "scoop" shape on the fuselage skin. There you can see what the scoop is going to look like from the outside....kewl, huh.
Next up is to cut out the interior fuselage skin and remove all the foam underneath. This forms a depression where the plastic scoop can be installed. I then cut out the opening in the exterior fuselage skin. With the inner skin and foam removed, the exterior skin is thin and flexible - this made cutting this shaper accurately rather difficult. It also prompted me to add 2-ply BID glass on the interior side of the exterior skin - making the scoop "inlet" stiffer and giving it quite a bit more substance. On top of that BID, the scoop is installed and attached to the fuselage with West flox. After that semi-cures, I filled in the gaps with dry micro. The final product looks something like - this. A little primer and paint and it will look just like a the rest of the plane.

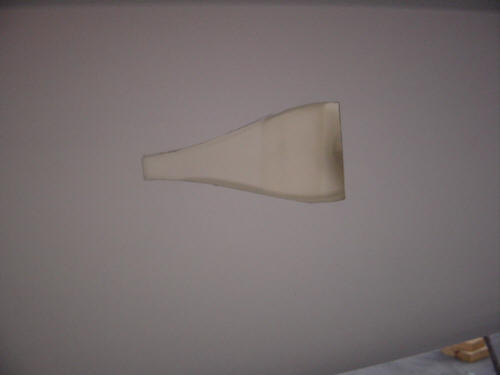
OK, this one is not a NACA scoop, but it is close and I really needed ventilation up front...so here goes... I originally was going to install a full-size NACA scoop in the top of the front canopy frame like most Berkut builders have done. But after Scott Carter (Long-EZ builder/pilot) stopped by, I changed my mind. I never did like the placement of that front scoop on the canopy and wanted to put a slot on the leading edge of the strake but thought it would deter from the "lines" of the plane. I happened to mention that to Scott, and he told me about what his hangar-mate did and what he's doing on the new plane he is building, how you can hide it from view, and how well it works even in steep climbs...and the rest is...well...see below: (Thanks, Scott)
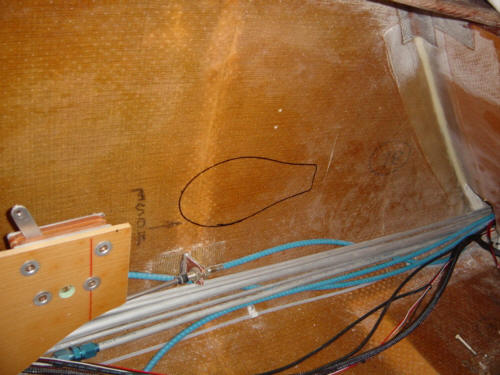
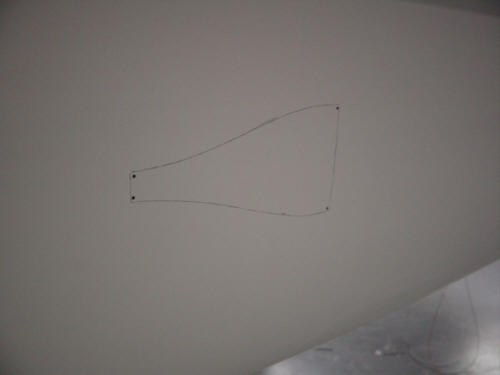
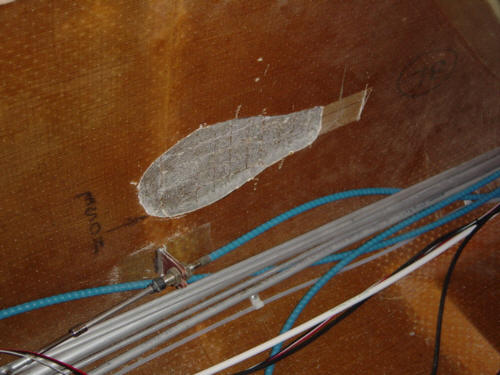
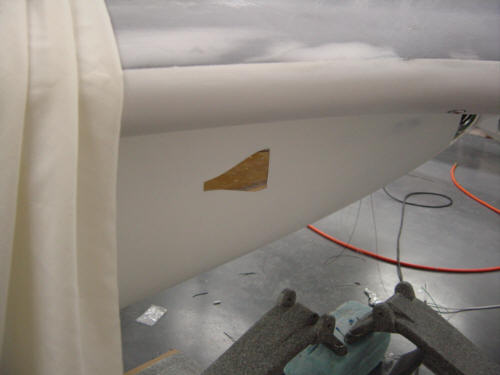
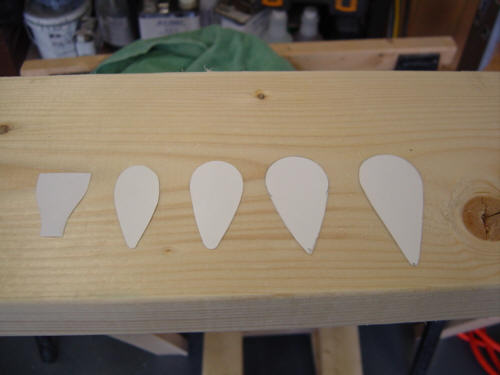
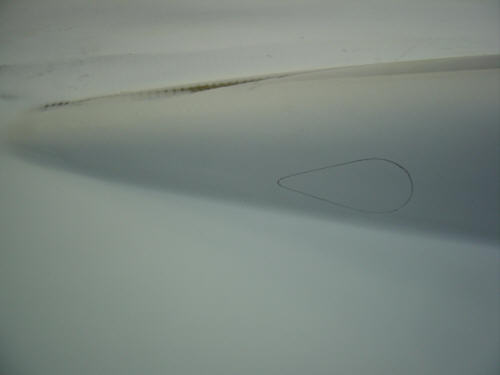
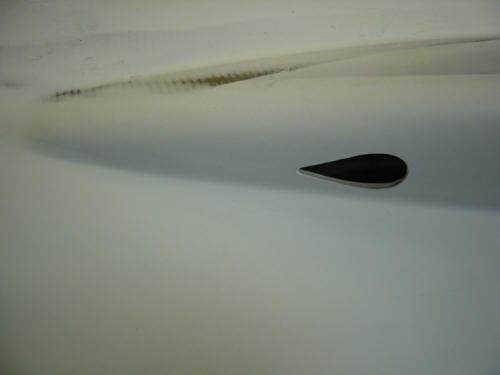
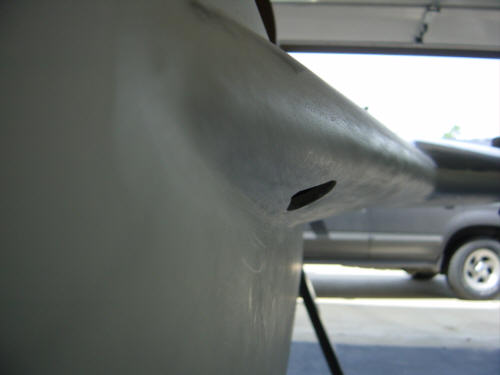
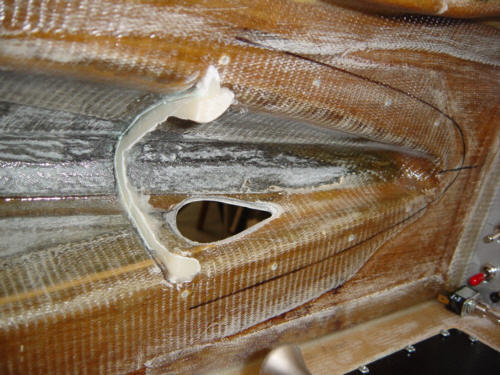
While I was "noodling" this install, I went through several rough drafts of the type and size scoop I wanted to install. I finally choose the one on the far right, and marked the outline one the lower edge of the left strake. I drilled several holes in the middle of the outline and then used the air-saw to open up the vent hole and a small sanding drum on the Dremel tool to fair in the ramp. As you can see here, the reversed tear-drop vent hole is on the underside of the strake and that does two things. First, because it is on the bottom of the strake, you can only see it if you are looking straight on from the side, not from above (as you would walk-up to the plane). Second, it presents a rather small frontal aspect to keep the drag to a minimum. Now that I have the hole...I need a plenum.
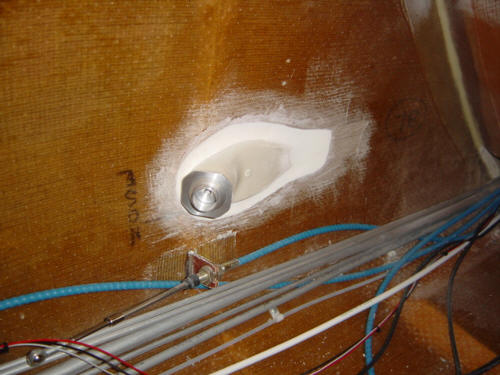
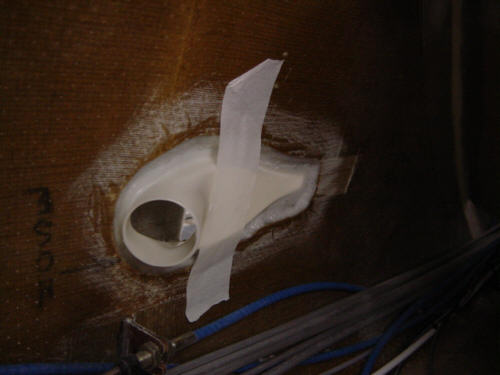
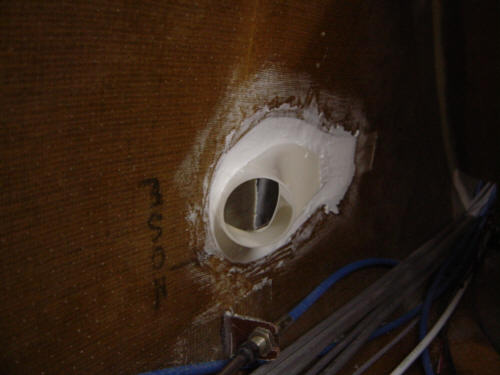
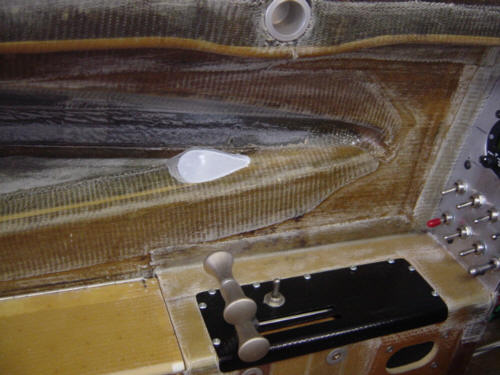
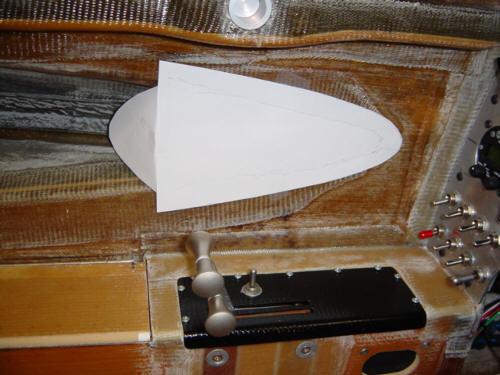
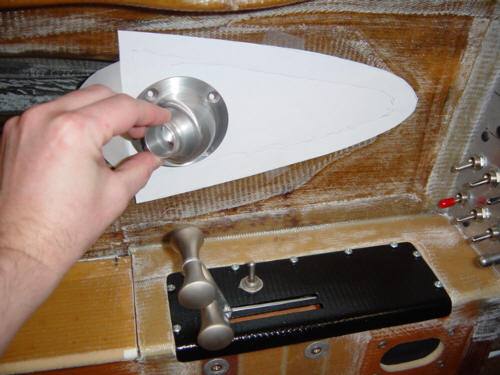
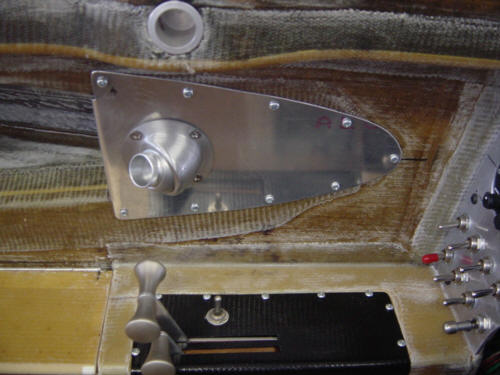
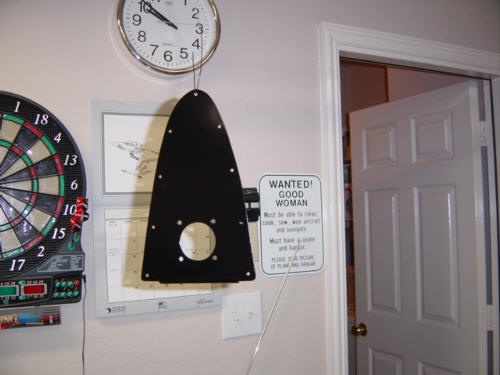
I first made a paper template to cut the metal cover out from and cut it to match the strake's contour. Some time ago, I found this little beauty of a 2 inch eye-ball vent. It is an all-metal, work of art! Instead of a standard straight housing, this one has a brushed and sealed aluminum 45-degree housing. This makes it perfect for this installation, or just about anywhere you might want where the mounting surface is not directly facing the target. None of the distributors carry this little gem, so I had to go directly to the manufacturer. If you want one too, let me know...I'll hook you up. Anyway, I cut and trimmed the .050" 2034-T3 cover, and bent the end to match the strake. Of course, I could not cut it perfectly to match, so I used some flox to fill in the minor gaps in the back. Put all the raw parts back together and it looks like this. I still have to wait for the primer and semi-gloss black paint to dry before I see the real thing...but I am already very happy with it. It's in a perfect position - I can point it at just about anything in the front cockpit, I can use my throttle arm, it takes advantage of otherwise useless space, and it does not cause any visual impairment over the nose, or with the instruments. OK..the paint is dry...Perfect-o!!
 Back to the Proto-page