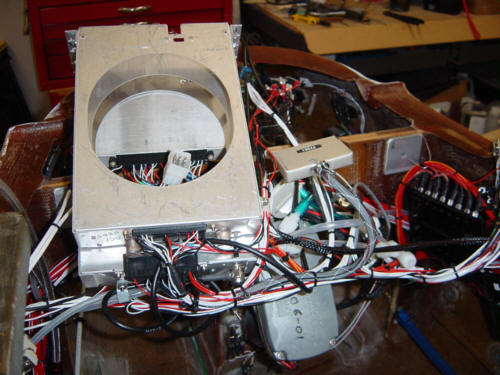
AAARRGggghh! I knew I'd hate this process...my nice panel and wiring job - all torn out again! (sigh) But, I have to do it...and it will look great when it is all done. You see, I have to prep the interior fuselage for paint and additional micro fill.
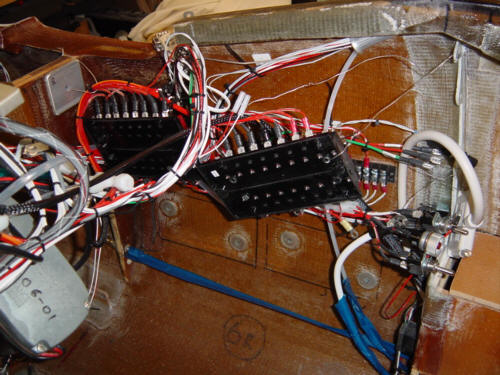
So, I started with removing the radios, instruments, and even the panel frame. I didn't want to remove the wiring harnesses, so I just pushed the wired out of the way and used some safety wire to hold the radio trays over to the side. On the other side of the fuselage, I removed the fuse block screws and wired them up out of the way too. So, now the front floor ahead of the instrument panel is ready to be painted. Since this is a high "abuse" area (where my feet go in and out) that may also see spilled or dribbled hydraulic and brake fluids, I have decided to coat it all in JeffCo epoxy. This is the same stuff I used in the fuel tanks and gear wells with great success. It's easy to apply, and will standup to the wear and chemicals. I can't think of anything better...and it looks good too!!!
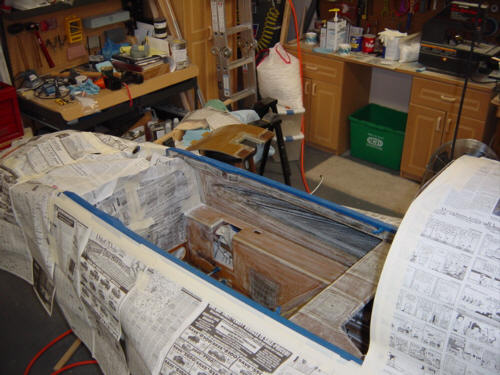
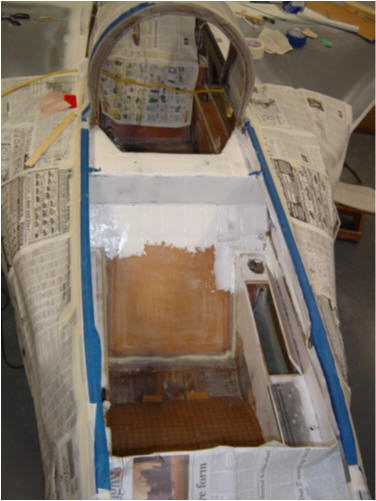
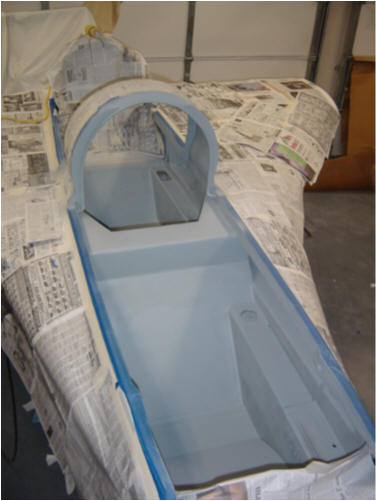
Next up...interior surfacing....YUCK! I have been dreading this operation for quite some time. This is one of the more unpleasant exercises a build must endure. I started with the front seat and worked my way back. It starts with sanding all the surfaces. This is to give the micro and the primer some tooth to cling to. Then comes the micro over all the tapes and intersections that will show through the cover paint. After lots and lots of sanding, I shot some primer all over the front seat and baggage area. It looks like a million bucks!! And, as you can see here - you can hardly tell there are shoulder harness hard points in there at all. A great base for the Zolatone, that is for sure!
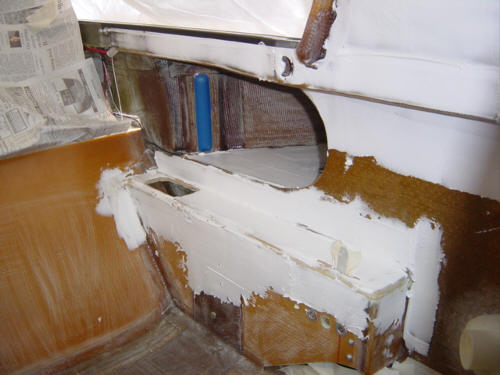
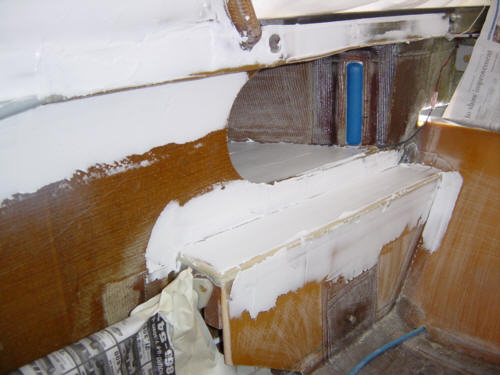
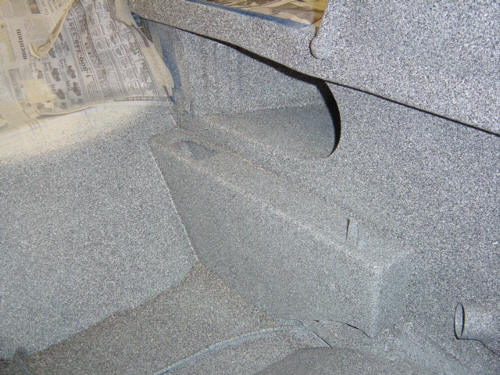
The next day, I started the same process on the rear seat and the roll-over structure. I sanded and microed the left and right consoles and to speed the sure time up a little, I heat tented the rear seat. Once well cured, I sanded out the micro to fair in the tapes. I also installed the rear seat thigh support with 2-ply BID tapes and micro. As you might remember, this used to be a fuel sump, but now serves as storage for the GIB.
Man, who would have thought that prepping the interior is actually worse than the exterior of the plane - there are many more intersections, angles and lots of surface area...not to mention you have to do much of it bent over and contorted in small areas. Not for the faint of heart! This is where the serious work comes in.
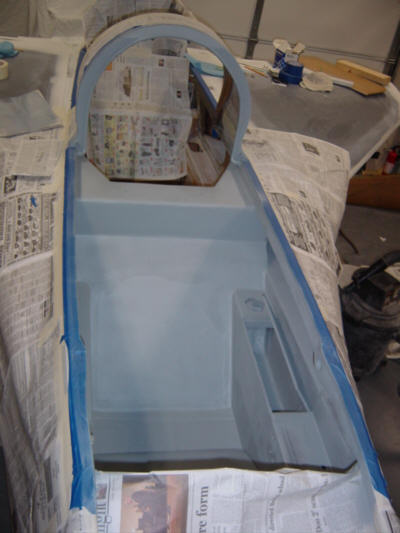
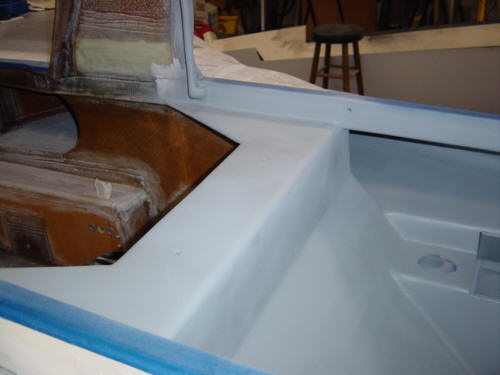
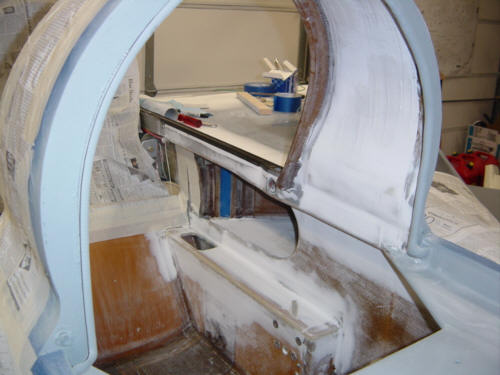
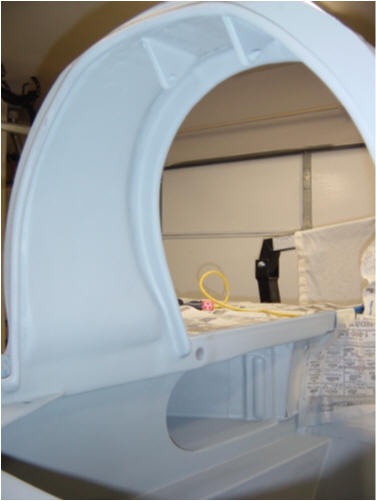
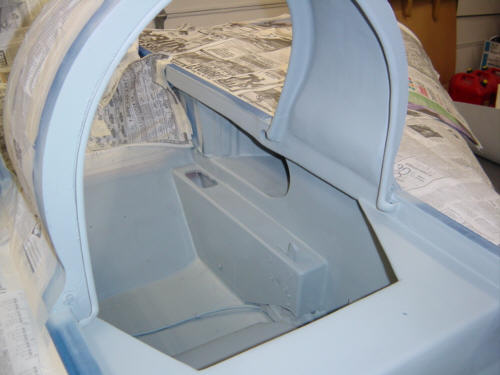
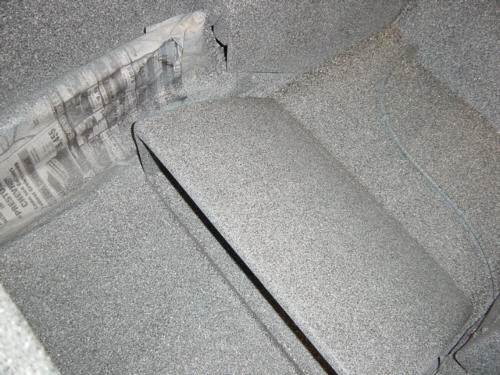
Now for some pay-off! I cleaned up and primered the roll-over loop and the rest of the back seat. I forgot to get a picture of this last night, but you can see the front lip I installed for the thigh support storage area. This should keep things from rolling forward in a descent. I have to admit...this thing is starting to look really good!! I can’t wait to get the Zolatone on there tomorrow!
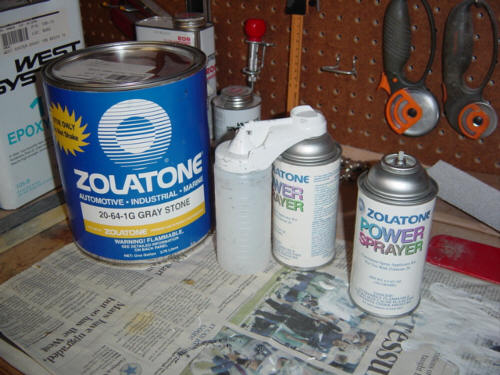
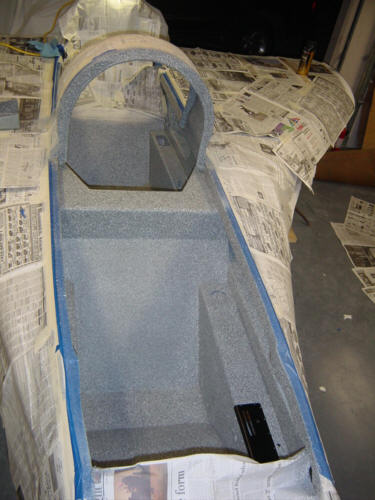
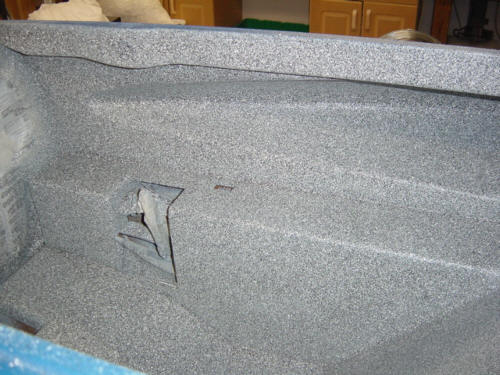
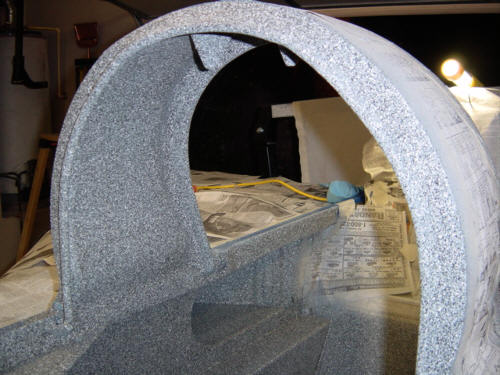
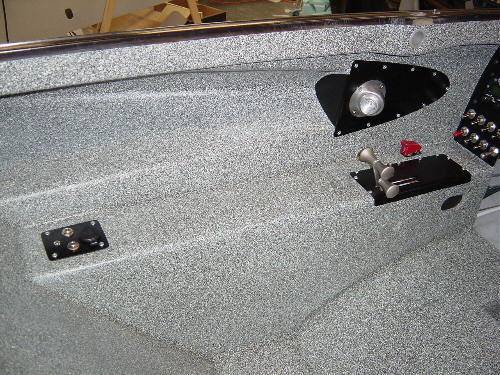
Well, it's now tomorrow and I have sprayed Zolatone down....and it is GOOD! I used this stuff on the gear legs and belly brake before...but I never knew how well it fills things in and masks imperfections. So, after all was done, I was both very impressed with how well it turned out and a little miffed that I spent so much time sanding and filling - I could have ignored 60% of what I did and never known the difference. Oh well...it looks fabulous! Here are a few picture of the front seat, roll-over loop, back seat and even the rear seat storage area. (Note: the flash on the camera makes it look much lighter than it really is) It looks great, but I'm not finished. After letting it dry for 24hrs, I will apply several coats of satin finish polyurethane top-coat. This will not make it glossy, and will make the Zolatone much more durable. Then, after that dries, I can remove the tape and paper and have a real look!
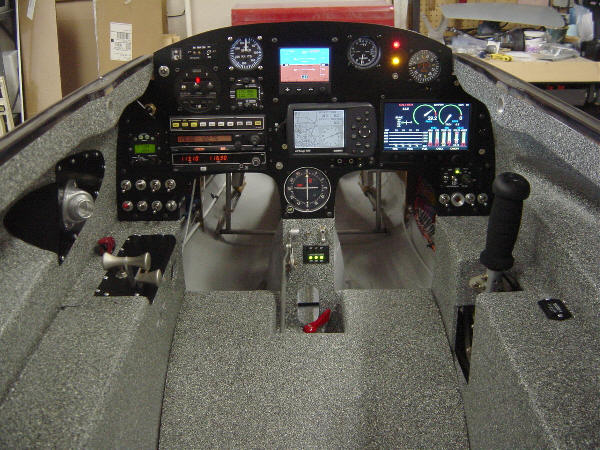
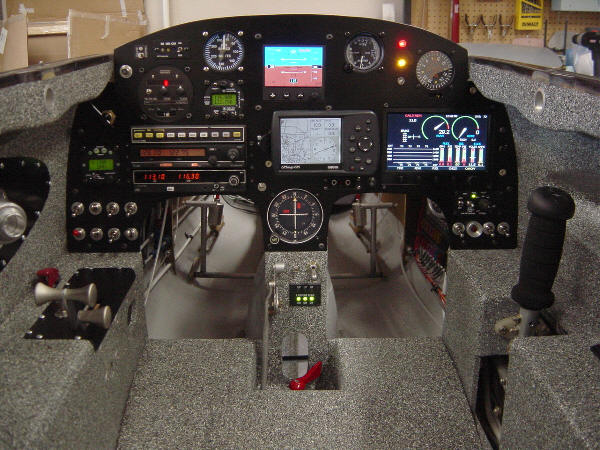
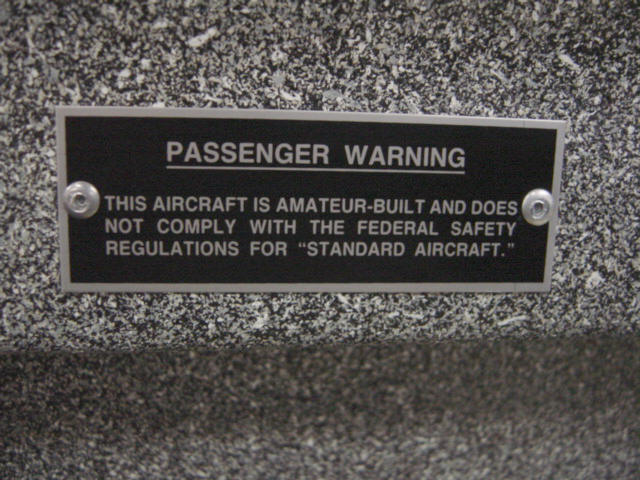
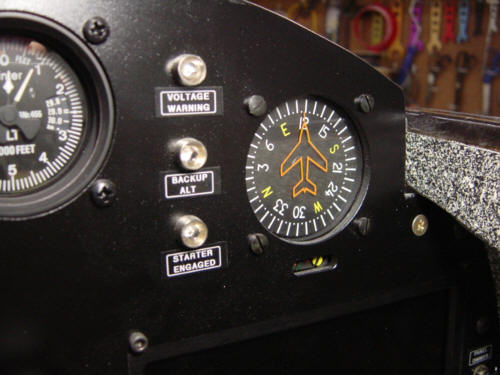
UPDATE 5-6-04: After seeing the completed interior with all the parts installed, I have one thing to say...OH...MY...GOD!! This thing looks incredible! (pictures just do not do it justice...but you get the gist) I have to admit, it has exceeded my expectations - a good thing too, since I'll be looking at it for the next 20+ years. Here is a closer look at the panel. I have also started adding some of the finishing touches like re-installing the ELT antenna, and attaching the passenger warning placard, and putting the intercom panels back in the front and back consoles. I can't wait to fly this thing!!
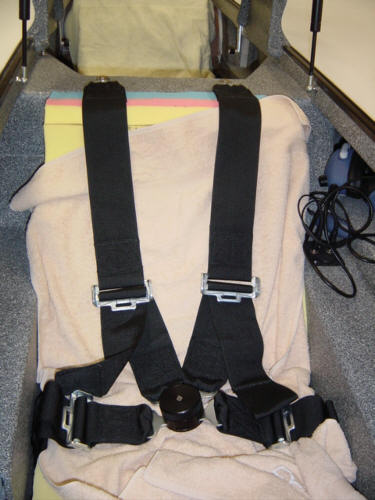
You may have noticed a few spots that are not painted - these are the wire runs that will be covered with a conduit/foot guard. I will not make these until after Phase 1 flight tests are complete...but they will get done. Recently, I also added the front harness.
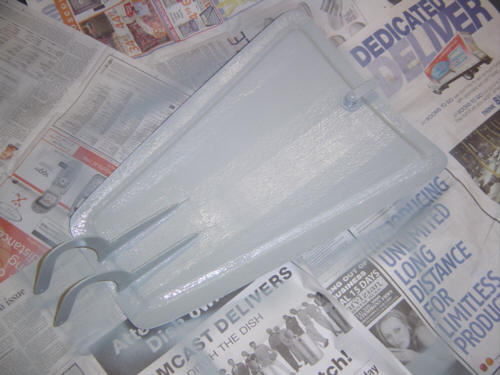
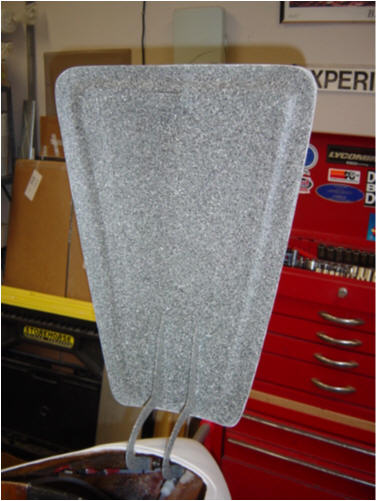
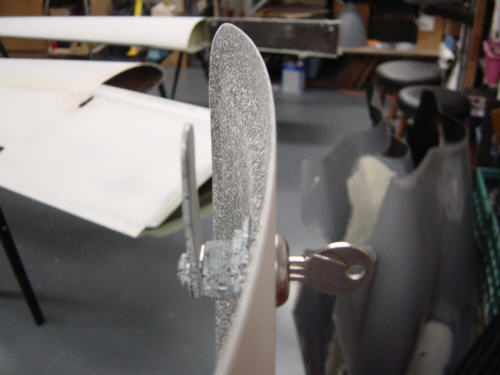
I'm not sure if this counts as internal or external, but I'm putting it here regardless. While I had the primer and Zolatone out, I went ahead and shot the nose baggage door with primer, let dry and shot it with Zolatone. I also installed a key lock so that I have some space in the plane that can be locked up at air shows.
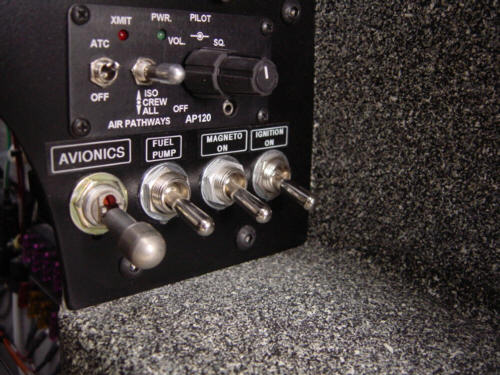
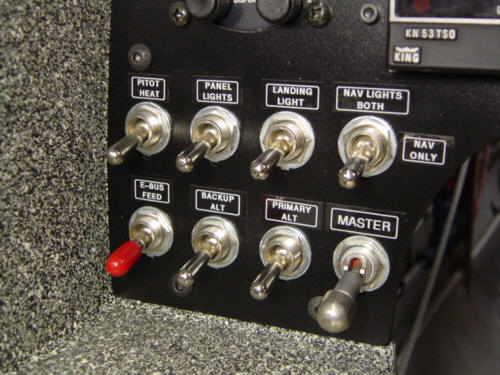
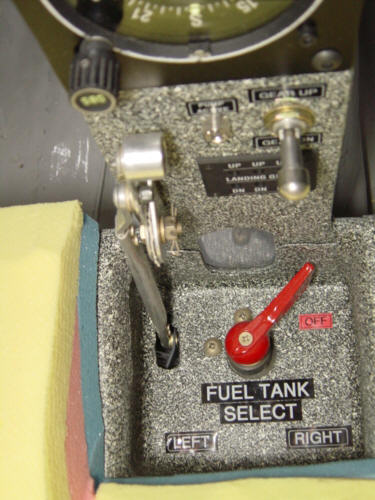
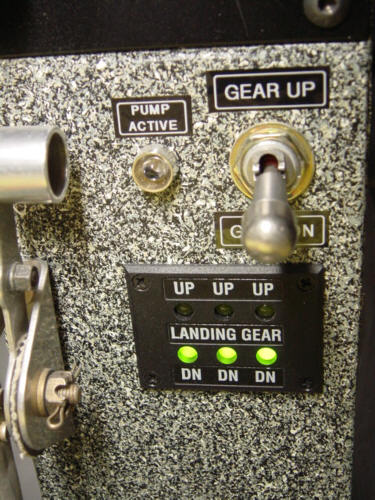
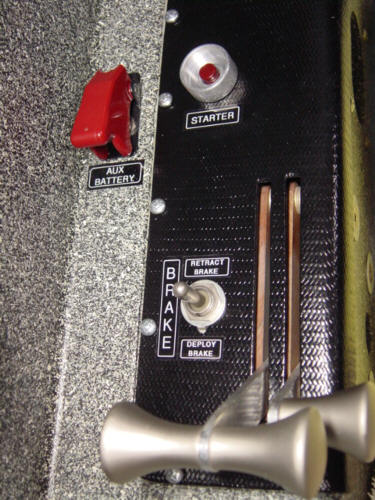
UPDATE 7-18-04: I finally got around to adding the labels to the switches and things. So, now I have the following: right hand switches, warning lights, left hand switches, fuel selector, center console, and the throttle console. You may alos have noticed, I added an avionics master switch and moved the starter button over to the throttle console. I did this mainly so that I can isolate the starter during engine start and send all available amps to it. For those anti-avionics master types - I so have a back-up to switch failure. The avionics are hooked into the E-bus, and there is an alternate direct battery feed via a seperate switch - so I won't loose any redundancy.
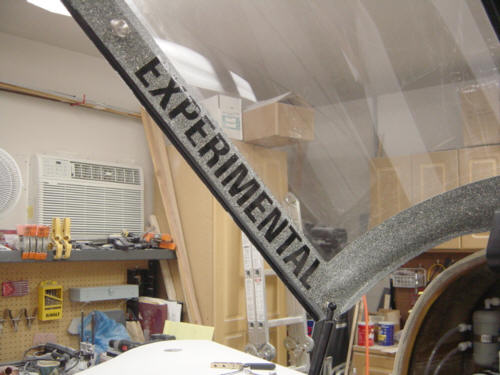
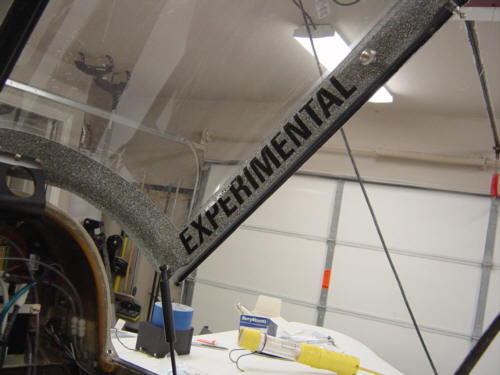
UPDATE 7-30-04: In preperation for the airworthiness inspection, I needed to install more of the FAA required signage. The most obtrusive is the "Experimental" signs that have to be a minimum of 2" tall block letters and have to be placed in clear view of all entrances to the aircraft. (sigh) In my case, that is FOUR of them - front left and right, and back left and right. I guess if this is the price for flight, I'll have to pay. So, with the interior Zolatone and black accents, they didn't detract too much from the overall scheme. See for yourself - front signs and aft signs.
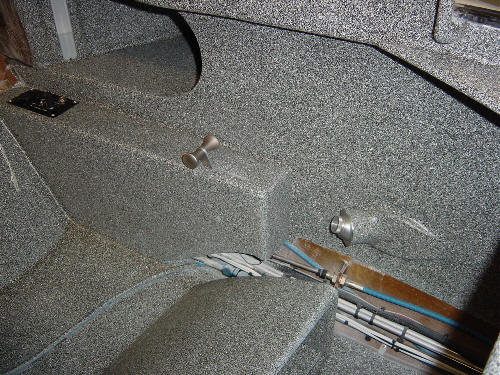
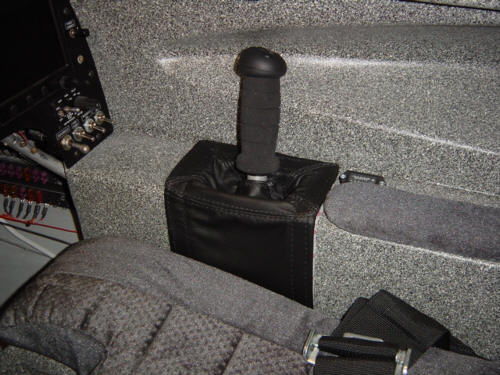
UPDATE 8-8-04: Part of the wonderful job done by Frank "the upholstery guy" was the black leather stick boot. It fits the "theme" of the interior's black accents and looks wonderful. Thanks Frank! If you are in the north Dallas area - he's your man!
UPDATE 4-12-05: At the time the 'interior" section was being completed, I was in "hurry up and get it flying" mode. So, it stands to reason that it has taken almost a year to get back and finish this up. So, here goes...
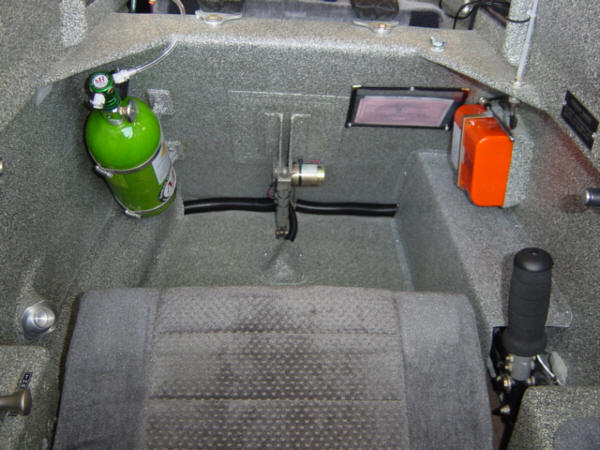
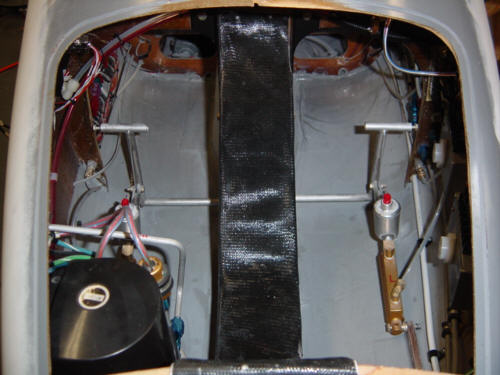
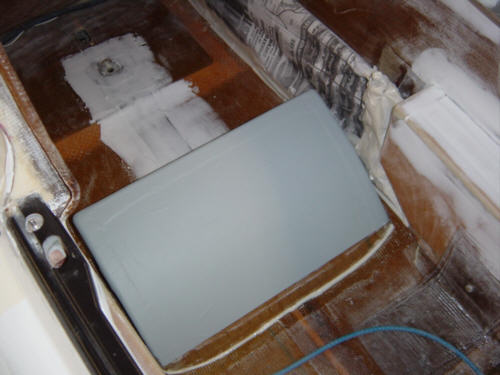
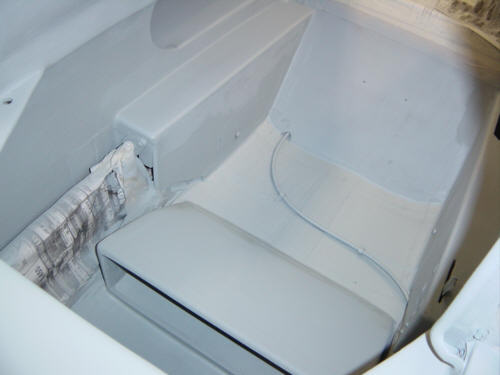
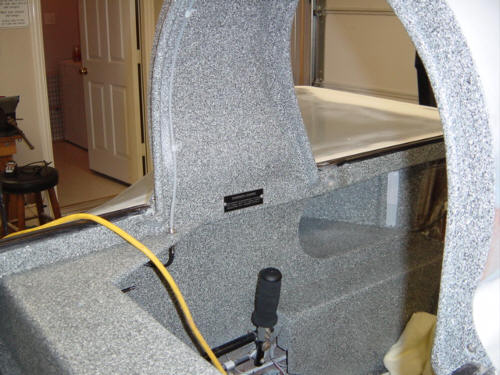
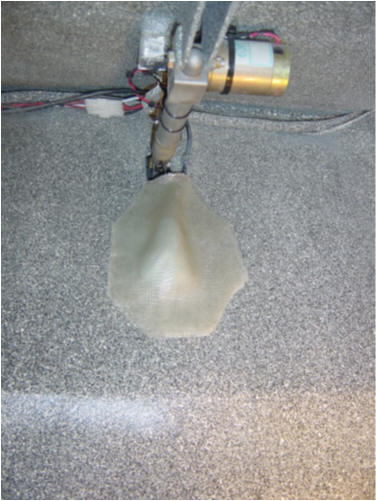
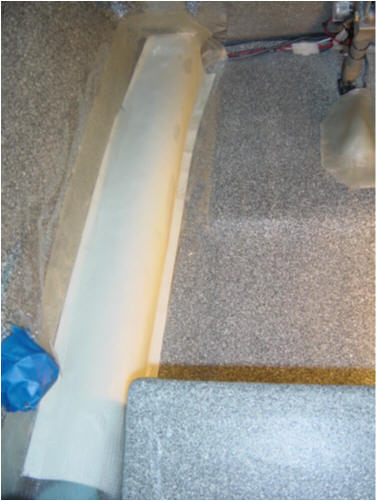
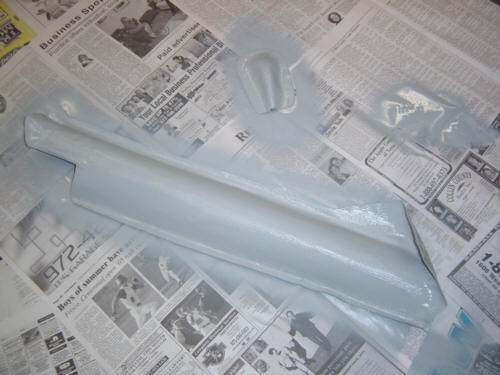
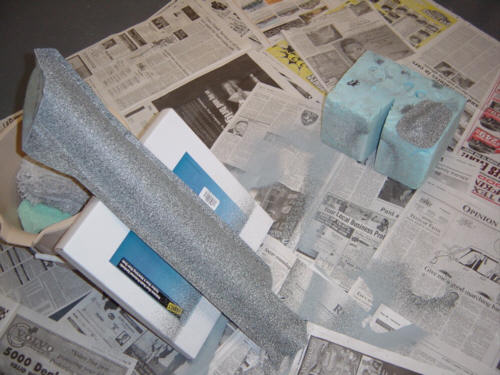
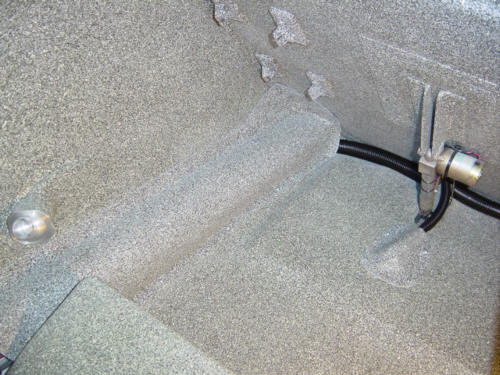
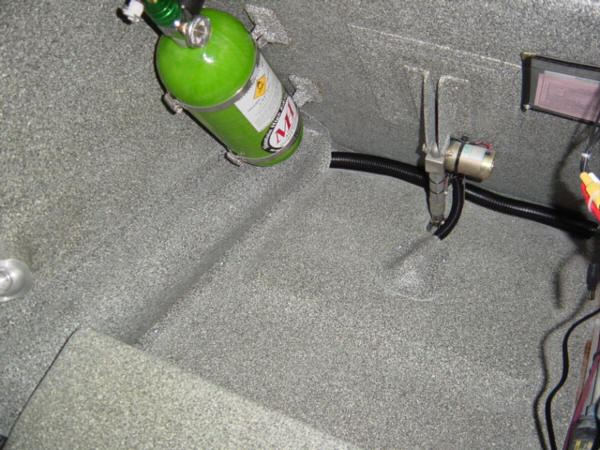
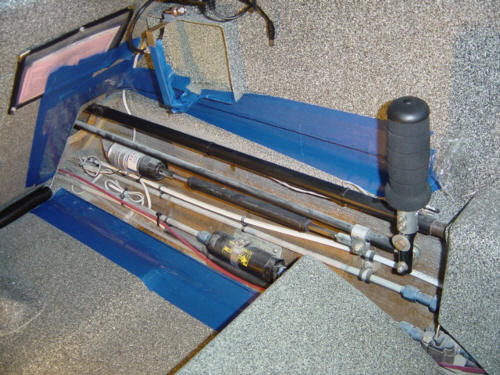
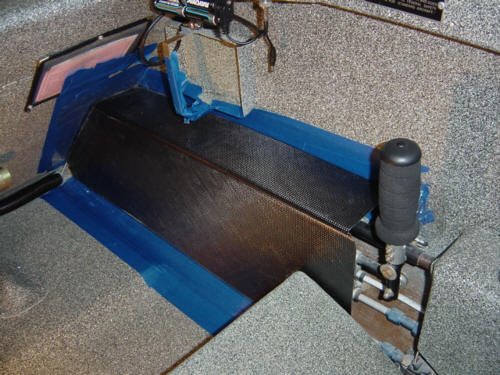
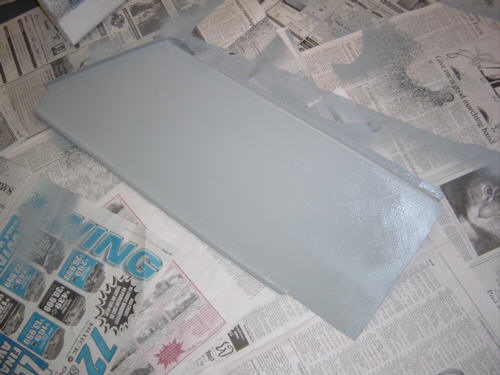
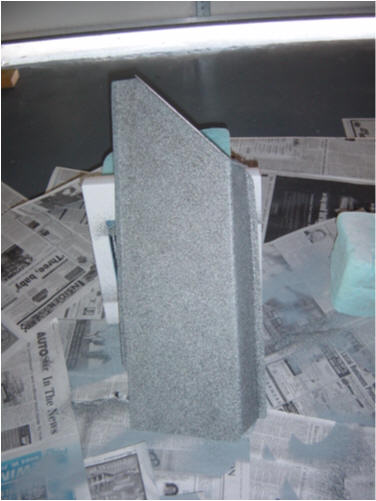
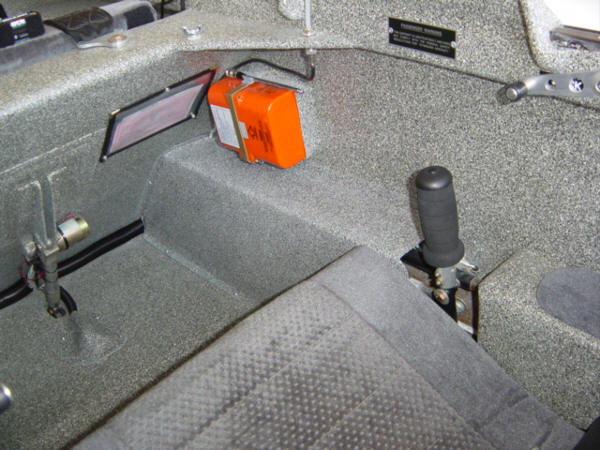
The electrical, hydraulics, and fuel lines, along with the control system torque tubes and pitch trim are all currently exposed in the back seat. This is not a big deal, but passengers have to watch their feet as not to disturb anything, and it's ugly as hell. So, I needed to form up a couple simple covers to hide all the mechanical bits. The first thing I made was the transponder antenna plug cover. As you remember, the xponder antenna is mounted in the middle of the landing brake - kewl from the outside, dumb on the inside (right where the passenger's feet go). An easy fix - I put some packing tape over the plug and laid down 6-plys of glass BID over the top. Why so thick? Well, so it can get completely stepped on and not cave in...that's why. Next up was the left side cover. I used poster board to form a template in a half-pipe cover, then covered it with packing tape (as mold release) and laid down 3-plys of glass BID from the fuselage wall, across the template, and onto the floor. After I popped both of these off, and trimmed them down to final shape, I primered them and shot them with Zolatone to match the back seat area. They turned out great!
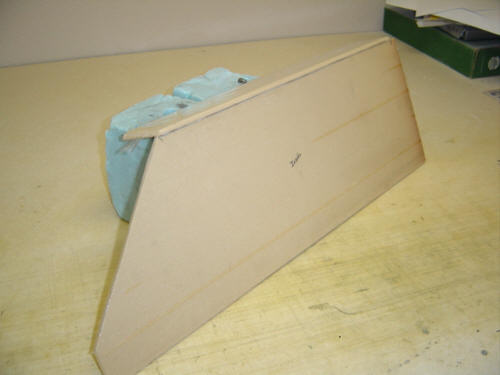
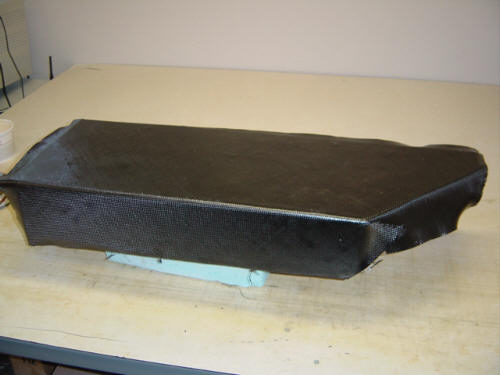
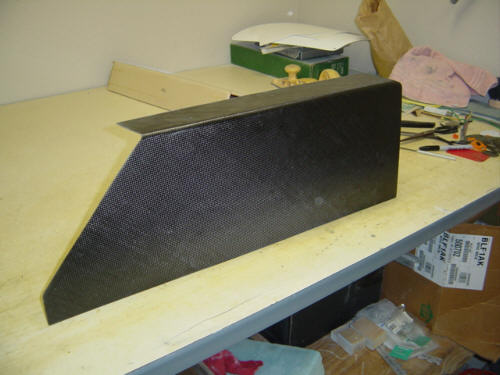
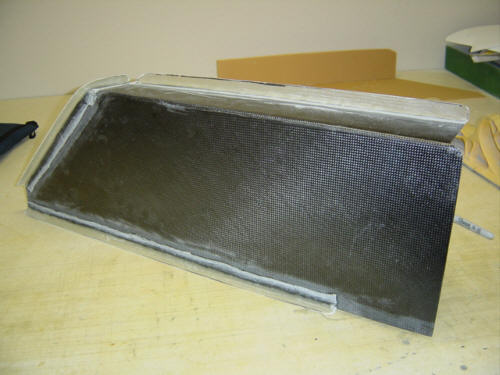
The right side cover needed to be much bigger as it would have to cover the lines at the bottom AND the control system torque tubes as well. While the other two covers were curing. I made up a 1/4" PVC foam mold for the area. I covered it with packing tape, and laid down 2-plys of carbon BID - as this one needs additional stiffness due to it's size. Once it was popped off and trimmed, it looked much like the foam mold...what a shocker! ;-) Anywho, the next day, I went back out to the hangar to make the mounting flanges. I taped off the perimeter, put the console back in place and laid down a 2-ply glass BID tape to form the mounting lip. After semi-cure, I popped it off and trimmed it down to final shape. Another round of primer and Zolatone paint and it was ready for final mounting. NOW...I can actually say - "The interior is finished!". Ahhh...that felt good.
 Back to the Proto-page