Without getting into a lesson on swept-wing aerodynamics, I can tell you that the vortilons are a very simple device to perform a very important function with little penalty in drag. Their main duty is to generate a vortex of air over the top of the main wing at high angles of attack. Test rest of the time, they do nothing (that is a good thing as it reduces drag). Since they are installed on the wing at the same angle as the wing's sweep (67 degrees), that makes them point straight forward and present a very small frontal drag area. However, when the angle of attack on the main wing is raised, the upper wing surface airflow starts to move outboard at an increasing angle. The vortilons stick up and more forward as the wing angle increases and they start acting as little fences to the spanwise air flow. They don't stop it, they "trip" it - causing a vortex. This vortex has the effect of keeping the air flow attached to the upper surface of the wing - reducing the wing's native stall angle and increasing the effectiveness of the ailerons at low speeds/high angles of attack. So...in short for you non-aerodynamic tech types...they help the wing fly slower without stalling = safer and more controllable.
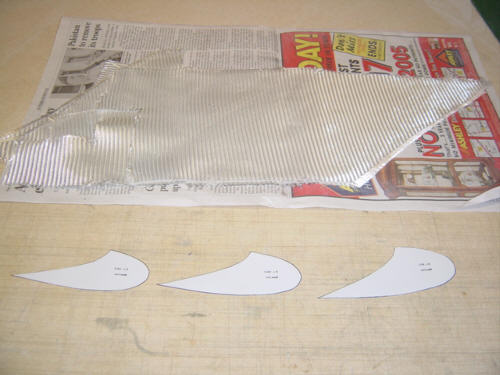
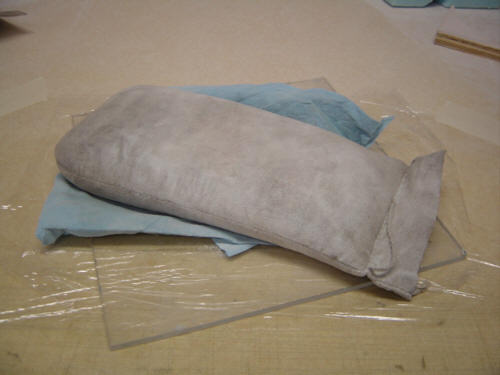
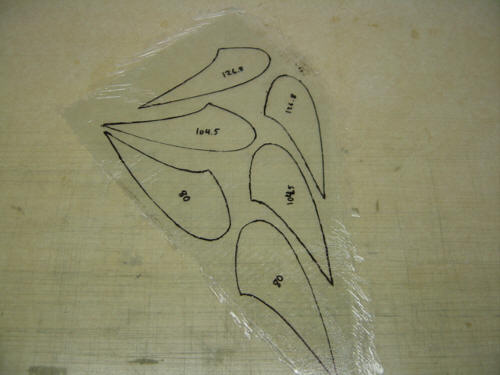
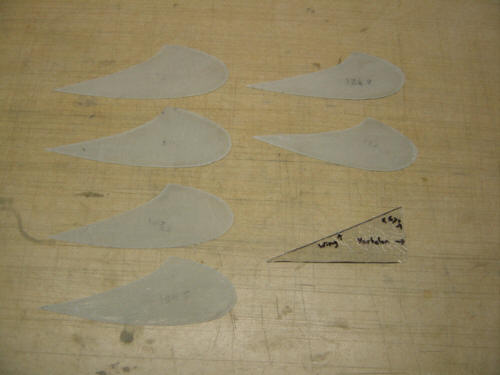
On to making them - they start out as paper templates and 2-ply BID glass. The glass is wet-out with epoxy on plastic wrap (no stick) and a lead weight and flat plate are placed on top to "press" the glass flat. After cure, the paper templates are used to draw out the vortilons. A quick trip to the band saw and you have the raw vortilons ready to install.
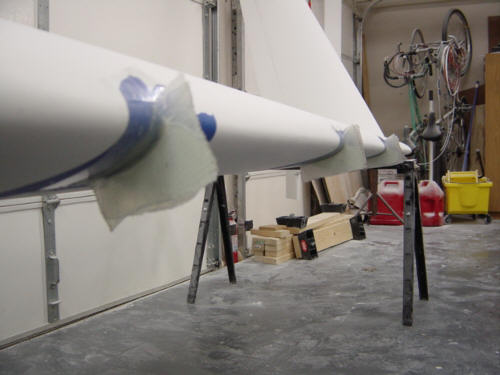
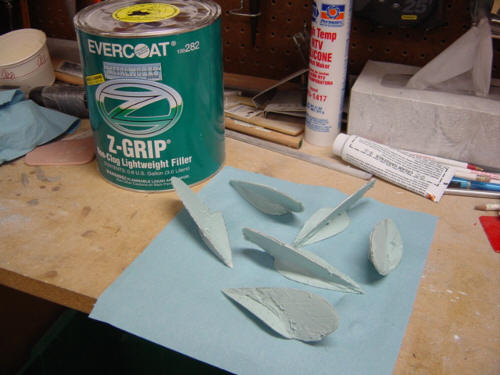
2-ply of BID does not provide enough edge area for bonding to the wing, so you have to make mounting flanges. First, the positions on the wing are marked (23", 49.5" and 73.75" from the wing root) and taped off with masking tape - you don't want to mess up that beautiful sanded leading edge, right? Then the raw vortilons are super glued to the masking tape using a 67-degree template and a vertical reference. This temporary attachment will allow the mounting flanges to be bonded and cure in the correct shape of the wing and incidence. 2-ply BID tapes are bonded to both sides of the vortilon and left to cure. The next day I trimmed off the excess BID, cut the mounting flanges into an airfoil shape and coated them with Evercoat Z-Grip filler. I would have normally used micro, but I was in a hurry and the fill was just thick enough to cover the weave - so, no harm/no foul.
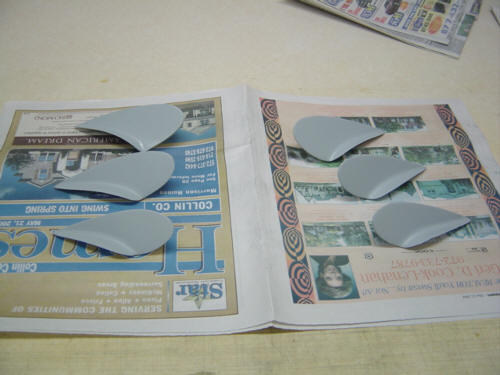
After a lot of tedious sanding of the nooks and crevices on those little buggers, I sprayed them with primer and let them dry overnight.
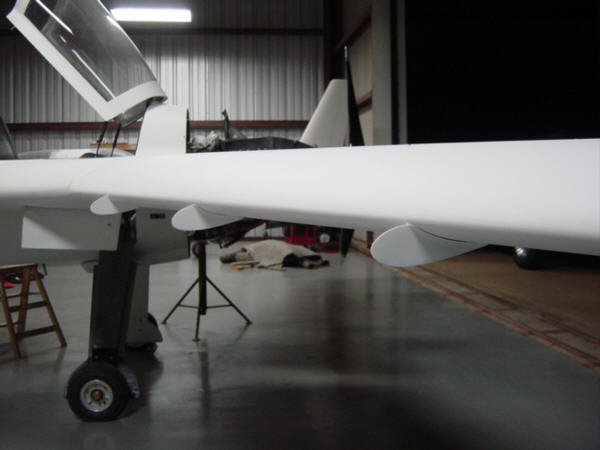
UPDATE 8-8-04: After the move to the hangar was complete (didn't want to damage them), I use RTV silicone to attach the vortilons to the main wings. No big deal - took like 15 minutes. I'm undecided if the help or hurt the looks of the plane...regardless, they are required.
 Back to the Proto-page